
The Complete Lab Report Format for University Students
A strong lab report format for university students is the difference between a report that reads like a jumble of notes and one that walks a marker cleanly from question to conclusion. Every science degree, from first-year chemistry to final-year biomedical projects, expects the same underlying structure.
This guide breaks down each section in order, explains exactly what belongs in it, and shows you how to write in the objective, precise style that examiners reward. Master the template once and you can reuse it across every module you take.
Why the Lab Report Format Matters
A lab report is not just a record of what happened in the lab. It is a formal scientific document that argues a case: you asked a question, you ran an experiment to answer it, and you now present your evidence and interpretation so a reader can judge whether your conclusion holds. The lab report format for university students exists to make that argument easy to follow and easy to verify.
Markers use this structure as a mental checklist. When your report follows the expected order, they can find your hypothesis, check your method, scan your data, and weigh your discussion without hunting through the page. When you break the structure, even good science gets marked down because the reader cannot locate the parts they need. Learning the format is therefore one of the highest-return skills in any science degree.
Most university lab reports follow a shared skeleton often summarised by the acronym IMRaD: Introduction, Methods, Results, and Discussion. Around that core sit a title, an abstract, and a reference list. Some modules add sections such as aims, a materials list, or a conclusion. Always check your specific assignment brief and marking rubric first, because your department's requirements override any generic template, including this one.
Golden rule: the rubric is the real format. This guide gives you the standard scaffold, but if your brief asks for a separate conclusion, an error analysis, or a specific citation style, follow the brief. Points are awarded against the rubric, not against tradition.
The Standard Structure at a Glance
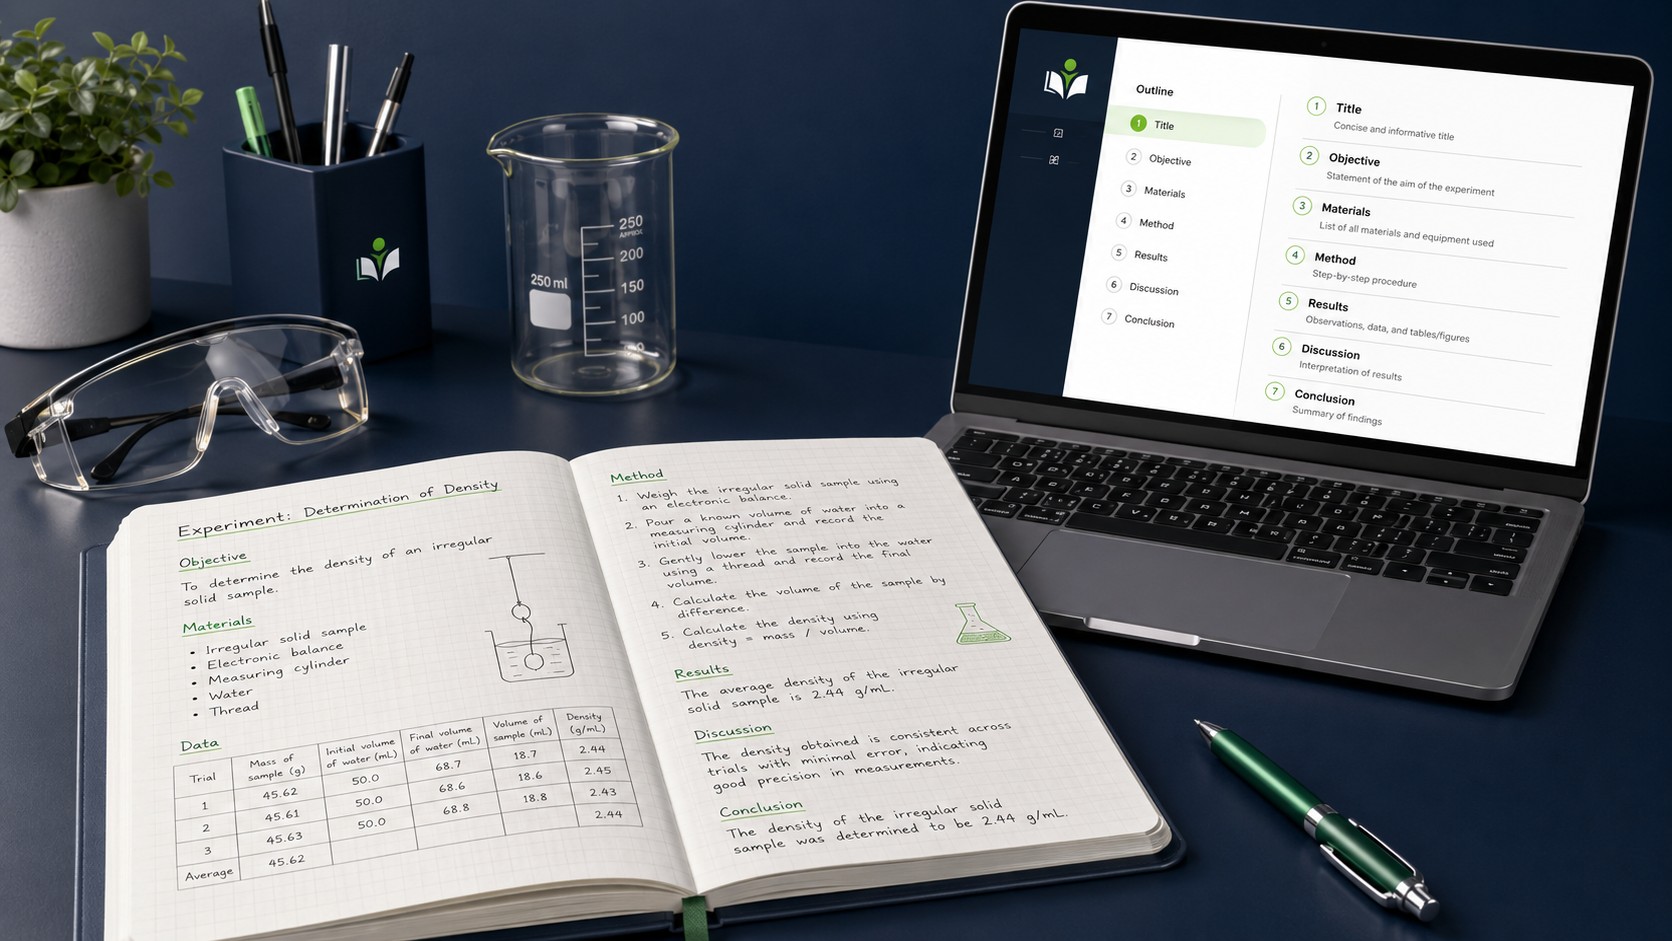
Before we work through each section in detail, here is the full order most science departments expect. Think of it as a top-to-bottom flow where each part answers a single question for the reader.
| Section | Answers the question | Tense and voice |
|---|---|---|
| Title | What is this report about? | Noun phrase, no verb |
| Abstract | What did you do and find, in brief? | Mostly past tense |
| Introduction | Why did you do this and what did you expect? | Present and past tense |
| Methods | How did you do it? | Past tense, passive voice |
| Results | What did you observe? | Past tense, factual |
| Discussion | What do the results mean? | Present and past tense |
| Conclusion | What is the take-home message? | Present tense |
| References | Whose work did you rely on? | Citation style format |
Notice how the report moves from broad context in the introduction, narrows to the specific experiment in the methods and results, and then widens back out to interpretation in the discussion. This hourglass shape is a hallmark of good scientific writing, and keeping it in mind helps you decide what belongs where.
Title and Title Page
The title is the first thing a marker reads, and it should describe the experiment specifically rather than generically. A title like "Enzyme Experiment" tells the reader almost nothing. A title like "The Effect of Temperature on the Rate of Catalase Activity in Potato Extract" tells them the independent variable, the dependent variable, and the system under study in a single line.
Aim for a title that names what you measured and what you changed. Keep it concise but informative, usually under fifteen words. Avoid full sentences, questions, and unnecessary words like "a study of" or "an investigation into" unless your department prefers them.
If a separate title page is required, it typically includes the report title, your name and student number, the module or course code, the name of your lab partner or group where relevant, the date the experiment was performed, and the submission date. Follow your department's layout exactly, as some faculties provide a mandatory cover sheet.
What makes a strong title
- It names the independent and dependent variables clearly.
- It identifies the organism, material, or system studied.
- It is specific enough that a reader knows the experiment before reading further.
- It avoids jargon that only your lab group would recognise.
The Abstract
The abstract is a short, self-contained summary of the entire report, usually between 150 and 250 words. It is the last thing you write but one of the first things a reader sees, and many markers form an early impression from it alone. A good abstract lets someone understand your whole study without reading the rest of the document.
Cover four things in order: the purpose or aim of the experiment, the method in a sentence or two, the key results including the most important numbers, and the main conclusion. Do not include background theory, do not cite references, and do not introduce information that does not appear elsewhere in the report. Write it in the past tense because the work is already complete.
Common mistake: writing the abstract before the experiment is finished, then forgetting to update it. Your abstract must match your actual results. If your findings changed during analysis, rewrite the abstract last so it reflects what you truly concluded.

The Introduction
The introduction sets the scene. Its job is to move the reader from general scientific background to the specific question your experiment addresses, and to state clearly what you predicted would happen. Think of it as the funnel that opens wide and narrows to a point.
Start with relevant background theory: the concepts, laws, or prior findings that a reader needs in order to understand why your experiment matters. Cite your sources here using your department's referencing style. Then explain the specific problem or gap your experiment addresses. Finally, state your aim and your hypothesis, ideally as a testable prediction with a clear direction, such as "It was hypothesised that increasing substrate concentration would increase reaction rate until saturation."
What belongs in the introduction
- Enough background theory to justify the experiment, no more.
- Definitions of any key terms or variables the reader must understand.
- A clearly stated aim describing what the experiment set out to do.
- A specific, testable hypothesis or prediction where the assignment expects one.
Resist the urge to turn the introduction into a full literature review. You need just enough context to make the experiment make sense. Save deeper interpretation for the discussion, where you compare your findings against the theory you introduce here.
Materials and Methods
The methods section explains exactly how you carried out the experiment. The guiding principle is reproducibility: a competent reader in the same field should be able to repeat your experiment and get comparable results using only what you have written. This is one of the most heavily weighted sections in many rubrics, so it deserves real care.
Write in the past tense and, in most disciplines, the passive voice, because the focus is on what was done rather than who did it. Describe the procedure as a continuous account rather than a numbered list of instructions, unless your department specifically asks for steps. Include the equipment and materials used, the quantities and concentrations, the settings and conditions, and the sequence of actions. Mention any controls and how variables were kept constant.
Reproducibility test: hand your methods section to a classmate who was not in your session and ask whether they could run the experiment from your description alone. If they have to guess at a quantity, a temperature, or a step order, add the missing detail.
What to leave out of the methods
Do not include results, observations, or interpretation in this section. Do not write it as a recipe with imperative commands like "add 10 ml of solution," since that is a lab manual style, not a report style. Do not describe obvious lab conduct such as wearing goggles or labelling tubes unless it is genuinely relevant to the outcome. Keep the focus on the reproducible core of your procedure.
Results
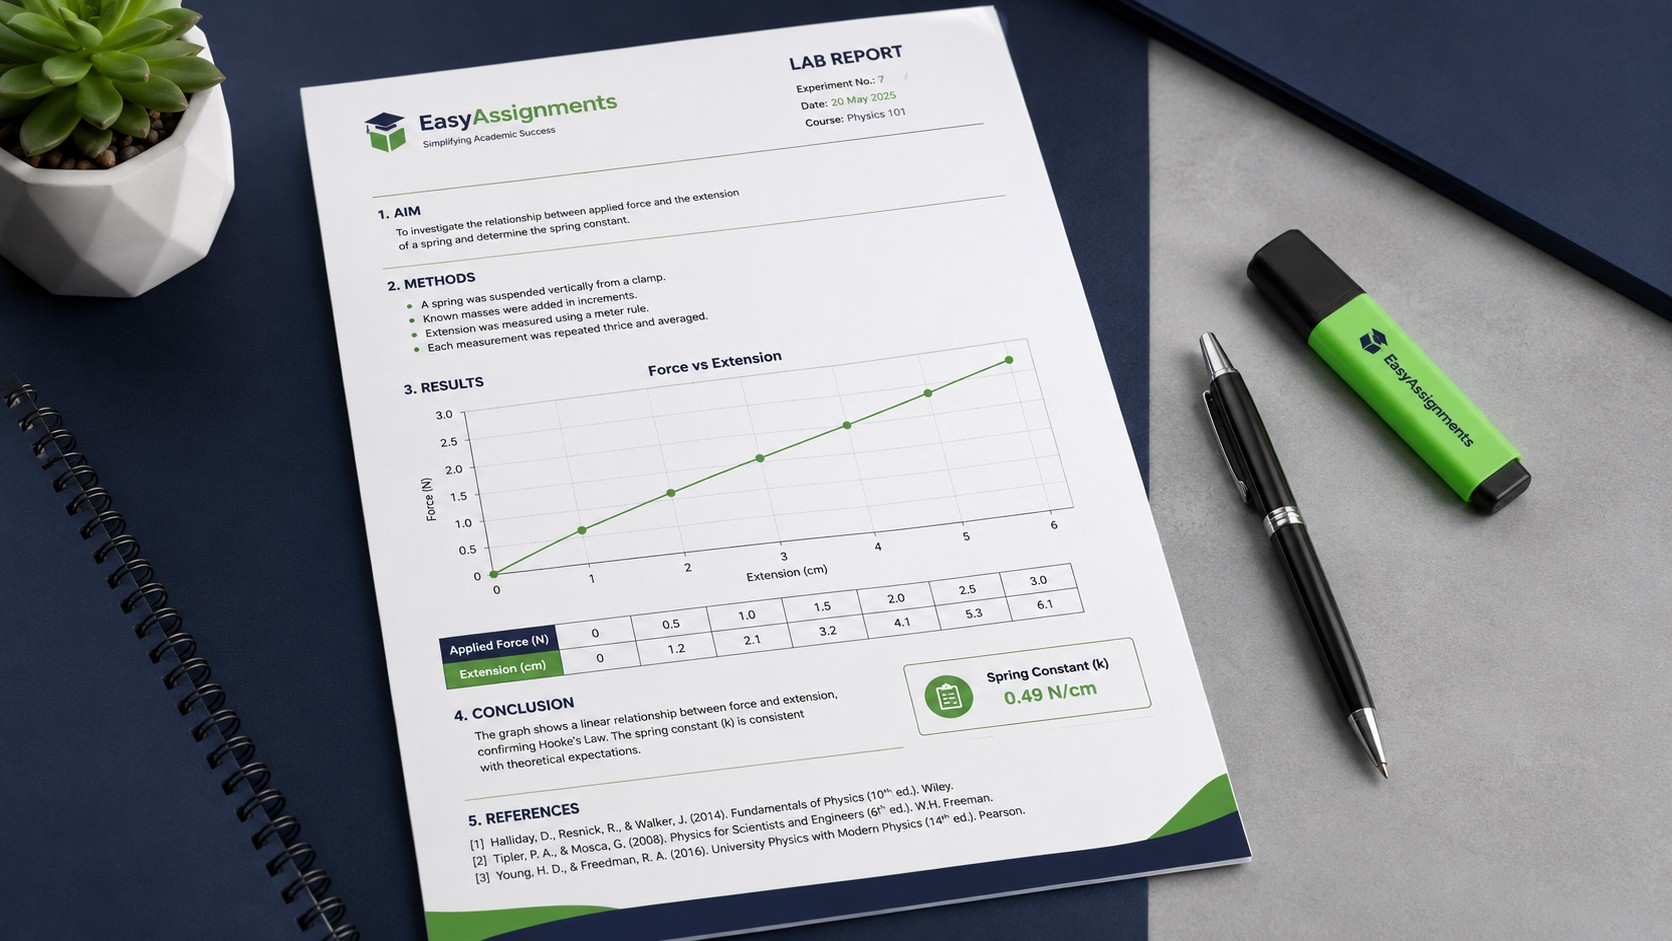
The results section presents what you observed, clearly and objectively, without interpreting it. This is where your data lives: tables, graphs, calculated values, and factual statements about trends. The reader should be able to see your findings plainly before you tell them what those findings mean in the discussion.
Present quantitative data in well-labelled tables and figures. Every table needs a number and a caption above it; every figure needs a number and a caption below it. Axes must be labelled with units, and each visual should be referred to in the text, for example "As shown in Figure 2, reaction rate increased sharply between 20 and 40 degrees Celsius." Do not simply drop a graph on the page and leave it unexplained, and do not repeat the same data in both a table and a figure.
Presenting data cleanly
- Report the trend or pattern in words, then point the reader to the table or figure that shows it.
- Include units, uncertainties, and significant figures consistent with your measurements.
- Show a sample calculation if your report requires worked results, then summarise the rest in a table.
- Keep interpretation out of this section; state only what the data show.
Stuck on a report that is due soon?
If you are wrestling with a tricky results section or a marking rubric you cannot decode, EasyAssignments can help you structure, review, or draft your work to your brief. Get a fast, no-obligation quote and talk to a real person about what you need.
Discussion
The discussion is where your report earns its highest marks, because it shows whether you understand your own experiment. Here you interpret the results you presented, explain what they mean, and connect them back to the aim and hypothesis stated in your introduction. If the results section answers "what happened," the discussion answers "so what?"
Begin by stating whether your results supported your hypothesis, referring to specific findings. Then explain the science behind the pattern you observed, drawing on the theory from your introduction. Compare your results to what published literature or established principles would predict, and discuss any discrepancies honestly.
Handling error and limitations
Strong discussions address sources of error and the limitations of the method. Distinguish between random error, which affects precision, and systematic error, which affects accuracy, and explain how each may have influenced your results. Avoid vague statements like "human error" on its own; instead identify the specific step where imprecision arose and how it could plausibly shift the data. Then suggest concrete improvements for future work, such as more repeats, tighter temperature control, or a more sensitive instrument.
Avoid this trap: do not use limitations as an excuse to dismiss unexpected results. If your data contradict the expected outcome, the most valuable thing you can do is reason carefully about why, rather than blaming a mistake and moving on. Examiners reward honest, thoughtful analysis over convenient hand-waving.
Conclusion and References
Where a conclusion is required as a separate section, keep it brief. Restate the main finding in relation to the aim, state whether the hypothesis was supported, and note the broader significance in a sentence or two. Do not introduce new data or new interpretation here. Many shorter reports fold the conclusion into the final paragraph of the discussion, so again, follow your brief.
The reference list records every source you cited, formatted in the style your department requires, whether that is APA, Harvard, Vancouver, IEEE, or another convention. Consistency matters enormously here: markers notice when your in-text citations do not match your reference list, or when formatting drifts between entries. Only include sources you actually cited in the text, and make sure every in-text citation has a matching full reference.
Referencing done right
- Match every in-text citation to exactly one entry in the reference list.
- Apply one citation style consistently across the whole document.
- Include lab manuals, textbooks, and journal articles you drew on, not just websites.
- Use a reference manager or your library's citation tools to avoid formatting slips.
Formatting and Style Essentials
Beyond structure, presentation carries marks. Use a clear, readable font at a standard size, sensible margins, and consistent spacing. Number your pages, label your sections with clear headings, and number tables and figures sequentially. If your brief specifies a word count, respect it, because reports that run well over or under can lose marks even when the content is good.
The scientific writing style is objective and precise. Prefer the past tense for what you did and found, keep sentences clear rather than ornate, and avoid emotive or casual language. Report numbers with appropriate units and significant figures. Where a passive construction keeps the focus on the science rather than on yourself, use it, but check your department's preference, as some now encourage limited first person for clarity.
Be objective
State what happened without emotion or opinion. Save interpretation for the discussion and keep the results factual.
Be precise
Use exact quantities, units, and significant figures. Vague measurements weaken your credibility and your marks.
Be consistent
Keep tense, terminology, citation style, and formatting uniform from the first page to the last.
Be reproducible
Write your methods so another student could repeat the experiment and reach comparable results.
A Simple Workflow to Write Your Report
Many students freeze because they try to write the report from top to bottom in one sitting. A more reliable approach is to write the sections in the order that the information is available to you, then assemble them into the final structure.
Start with the methods and results while the experiment is fresh, since these are the most factual and least demanding sections. Next write the introduction, which frames the question and hypothesis. Then tackle the discussion, drawing links between your results and the theory. Write the conclusion and reference list, and only then write the abstract, so that it accurately summarises a finished report. Finish by proofreading the whole document against your rubric.
Time-saver: build a reusable template with the standard headings already in place. Once you have written two or three reports, the format becomes automatic and you can focus your energy on the science rather than the scaffolding.
Frequently Asked Questions
What is the standard lab report format for university students?
The standard lab report format for university students follows the IMRaD structure: Introduction, Methods, Results, and Discussion, surrounded by a title, an abstract, and a reference list, and sometimes a separate conclusion. Always check your specific module rubric, since departments add or reorder sections to suit their requirements.
How long should a university lab report be?
Length varies widely by module and level, from a couple of pages for a short weekly practical to fifteen or more for a final-year project. The best guide is your assignment brief. If it gives a word count or page limit, treat that as a firm target rather than a rough suggestion.
Should I write a lab report in the first or third person?
Traditionally, lab reports use the third person and passive voice to stay objective, especially in the methods. Some departments now allow limited first person for clarity. Check your module guidance, and whichever you choose, apply it consistently throughout the report.
What is the difference between the results and the discussion?
The results section presents what you observed as plain facts, with tables and figures but no interpretation. The discussion explains what those results mean, why they occurred, whether they supported your hypothesis, and what their limitations are. Keeping the two separate is one of the most common ways to improve a lab report.
Turn a Blank Page Into a Marked-Up Report
Whether you need a structure check, a proofread, or full support drafting to your brief, EasyAssignments is ready to help you produce a clear, rubric-ready lab report. Get a free quote today and talk to a real person about what you need.